
So, for those of you who have been following my last two posts, you know that 1) I am apparently HORRIBLE at identifying rocks, 2) I have breathing problems that are exasperated by carving and 3) I do it anyway, with protection, of course. I may be stubborn, but I’m not dangerously so.
Now, the rock identification thing, I have to admit, I am a bit ashamed of. After all, I am a geologist (BS 1994, and attempted MS numerous times), and I’ve been a lapidarist and rock hound for a very long time. But it just proves that even with all that, mistakes can be made.
So for those who don’t know, I probably misidentified an agate as an igneous rock. Yeah, I know. Pretty lame. But, in my defense, I was surrounded by igneous rocks, and my brain did the whole “guilt by association” thing.
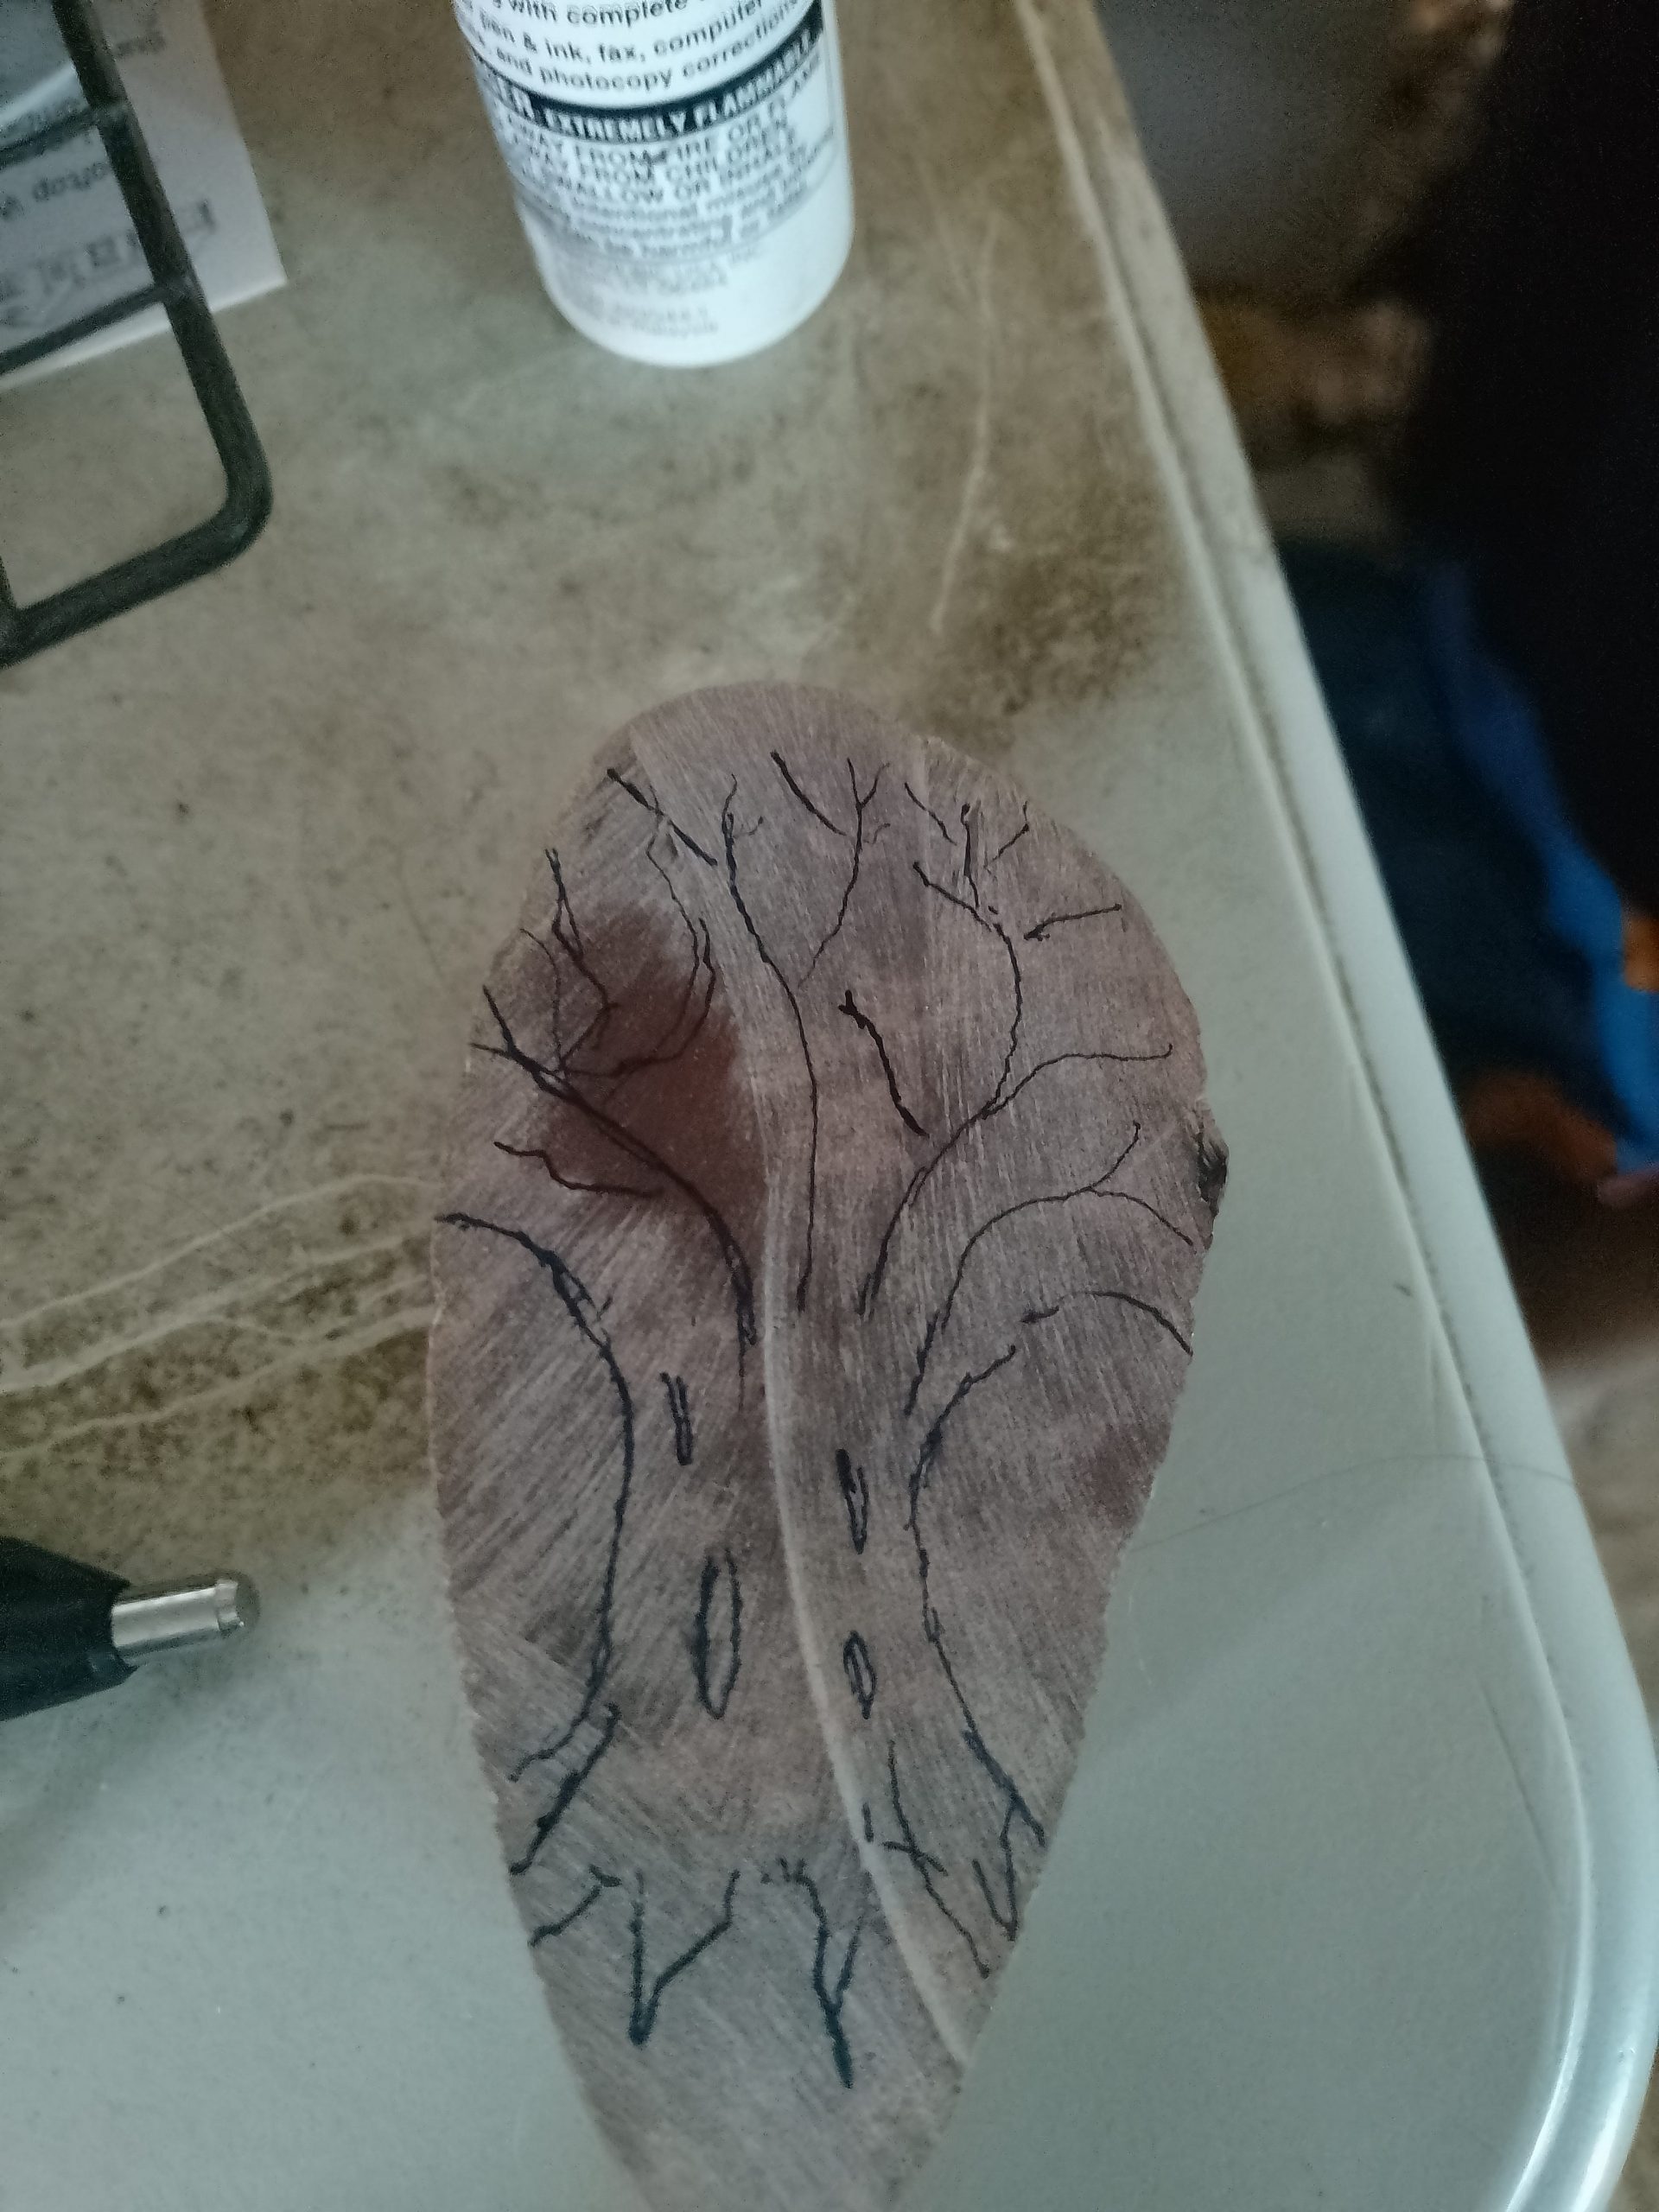
But regardless of my mis-identification, the stone was, and is a great contender for the project I had in mind. A tree.
So what you see here is a rough sketch of the tree. The plan is to do a type of carving where the drawn portions are actually raised up in positive relief. Technically, it is most similar to a traditional cameo carving, but there is one difference. In a traditional cameo type of carving, the background is flattened in order to highlight the detail in the carving. In this case, there will be a bit of detail in the background as well to help tell the story.
A Surprisingly Simple Trick
But before we get into that idea, I wanted to share a bit of a trick that I learned, especially when dealing with positive relief carvings with hard stones.
When you’re working with hardstones, like agate, or quartz, or granite, etc, carving in a water stream is a great idea. It cools the rock and your diamond burrs, keeps the dust down, and helps wash away the grime that is produced as your carving. But there is a problem. In a lot of cases the design that is drawn on can get washed off.
“But if you use a permanent marker/pencil/a light etching that won’t happen.”
Hahahahahahahahahaha Umm. Sorry. Yes it will. Over time, even permanent marker will fade because of the nature of the process. And a light etching on a hard stone won’t always show when you need it too. So one of my carving friends showed me this technique. And it’s so simple.
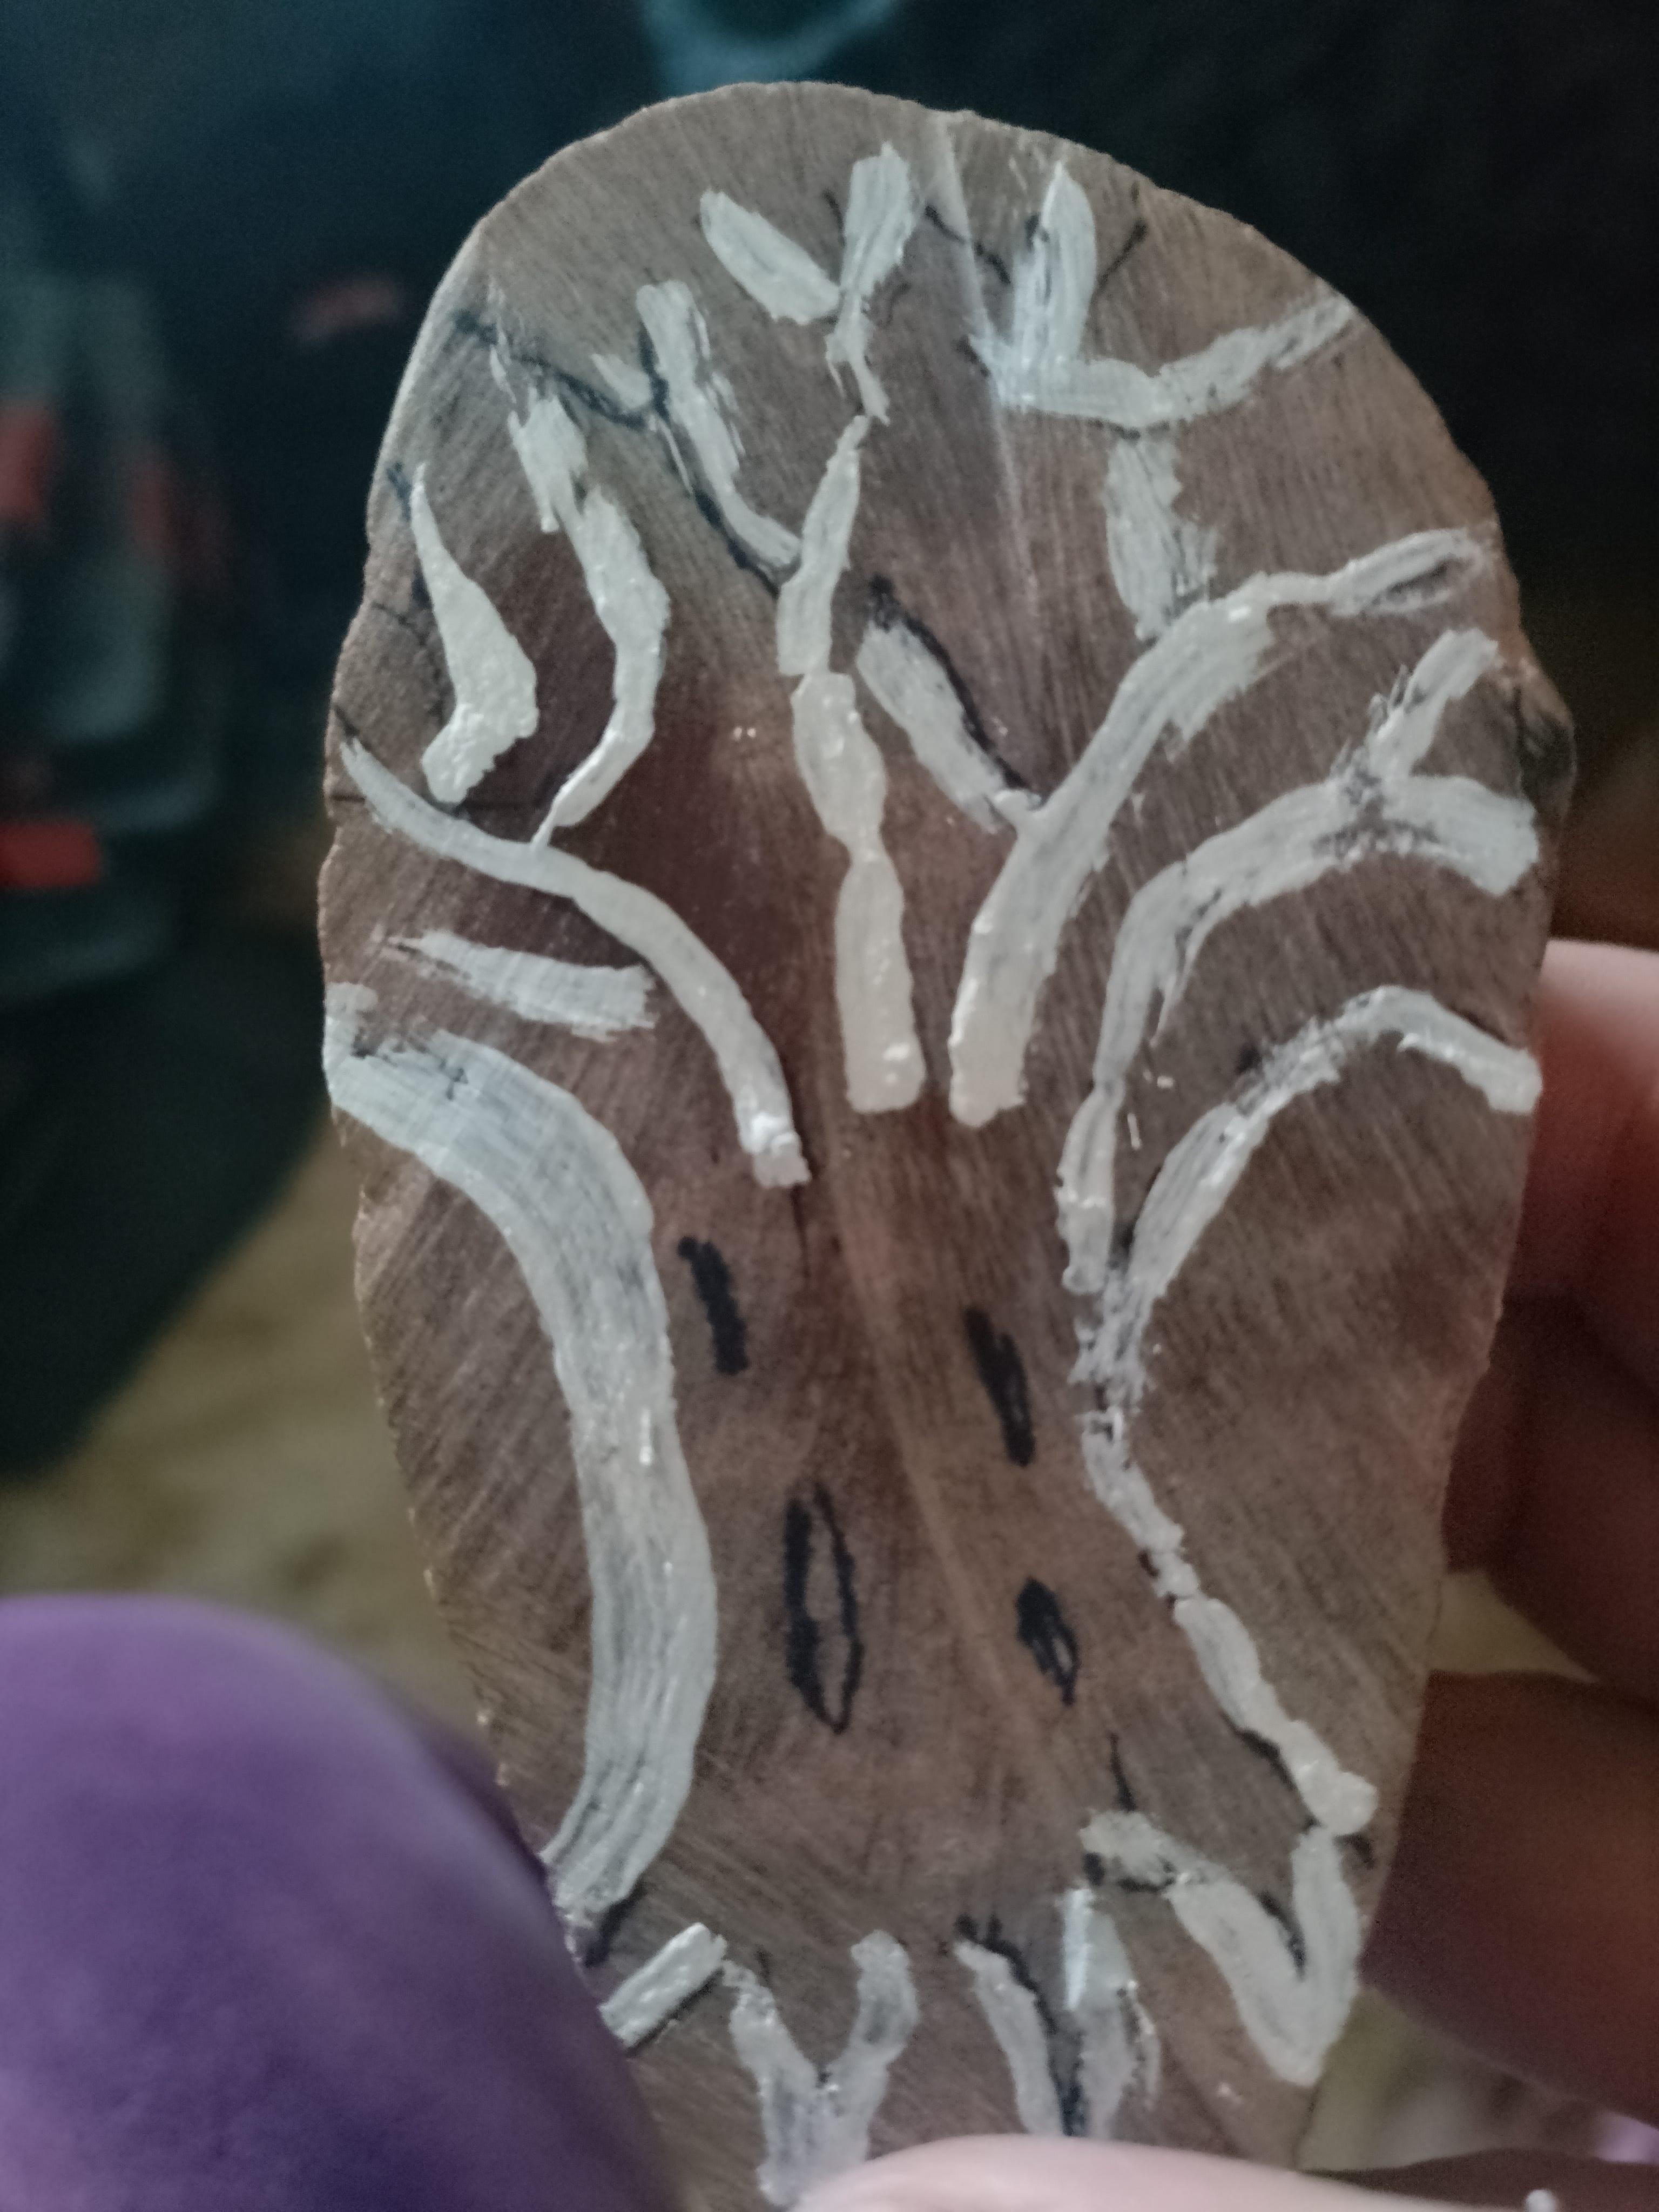
White out. Or correction fluid. This stuff is great for staying on the rock and showing you were to carve, and where not to carve. And at the end, it can be easily sanded or ground off.
The Next Steps….
So now that the basic outline is done, I’ll be using my rotary tool to remove some of the areas outside of the white out to create the positive relief. I’ll do the outside first, and then move on to the inner areas to provide the illusion of the branches.
Then it’s on to the detail work.
Until next time everyone!
